Creating a single NAT instance and Bastion Host/Jump Box in our VPC from Part 1
Today we will be adding EC2 instances to each of the subnets we made inside the VPC last time. We will then test the connectivity between the subnets and finally add a NAT instance to the public subnet to get internet access from inside the private subnet, Let us get started.
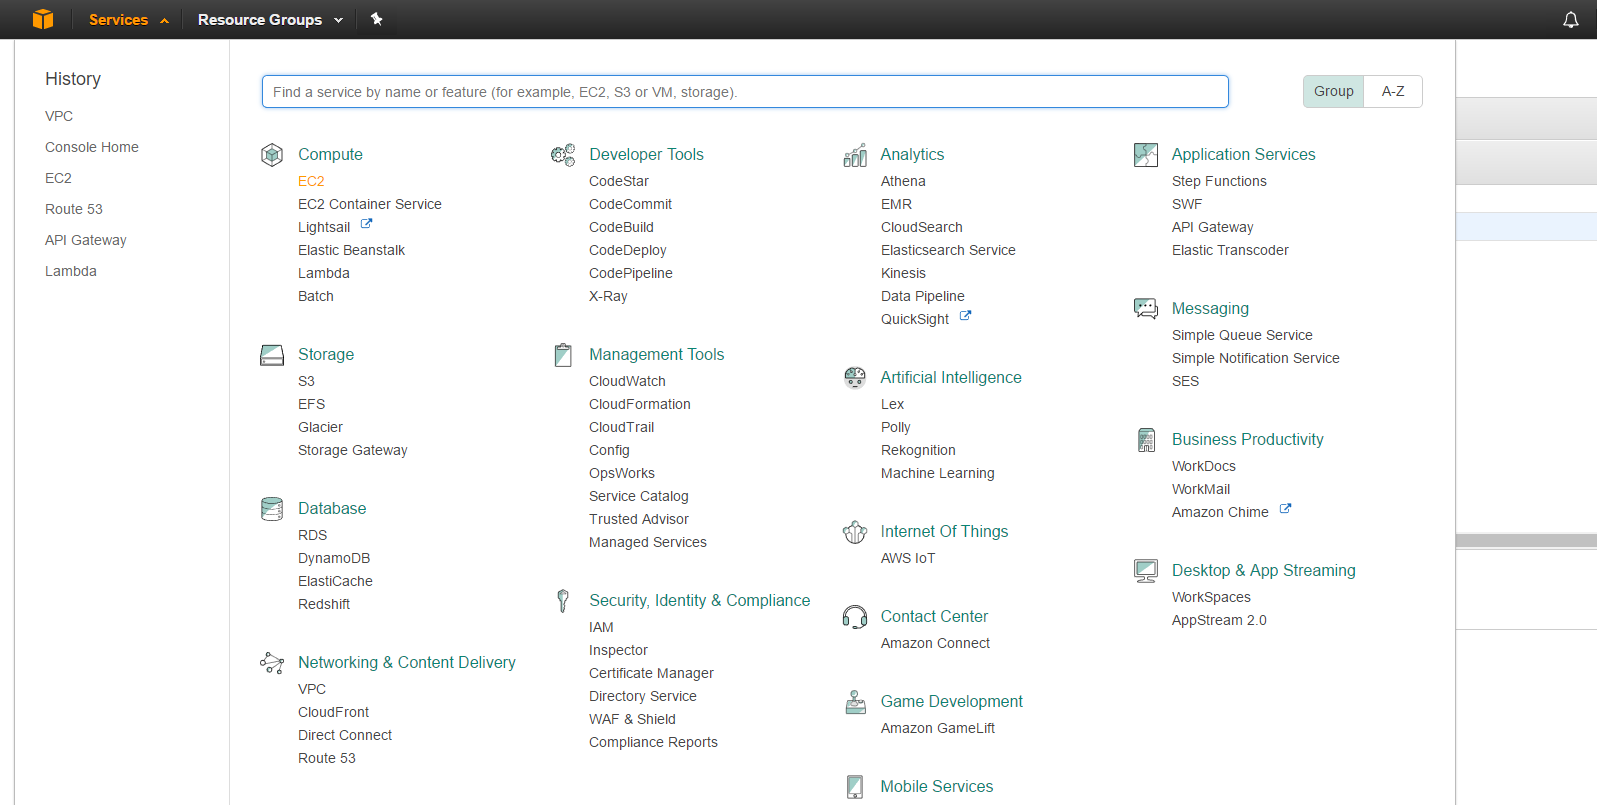
Firstly, log in your the AWS console using your account, then navigate to the EC2 console, under the “Compute” heading, (you can see it in the top left corner, in the below image”)
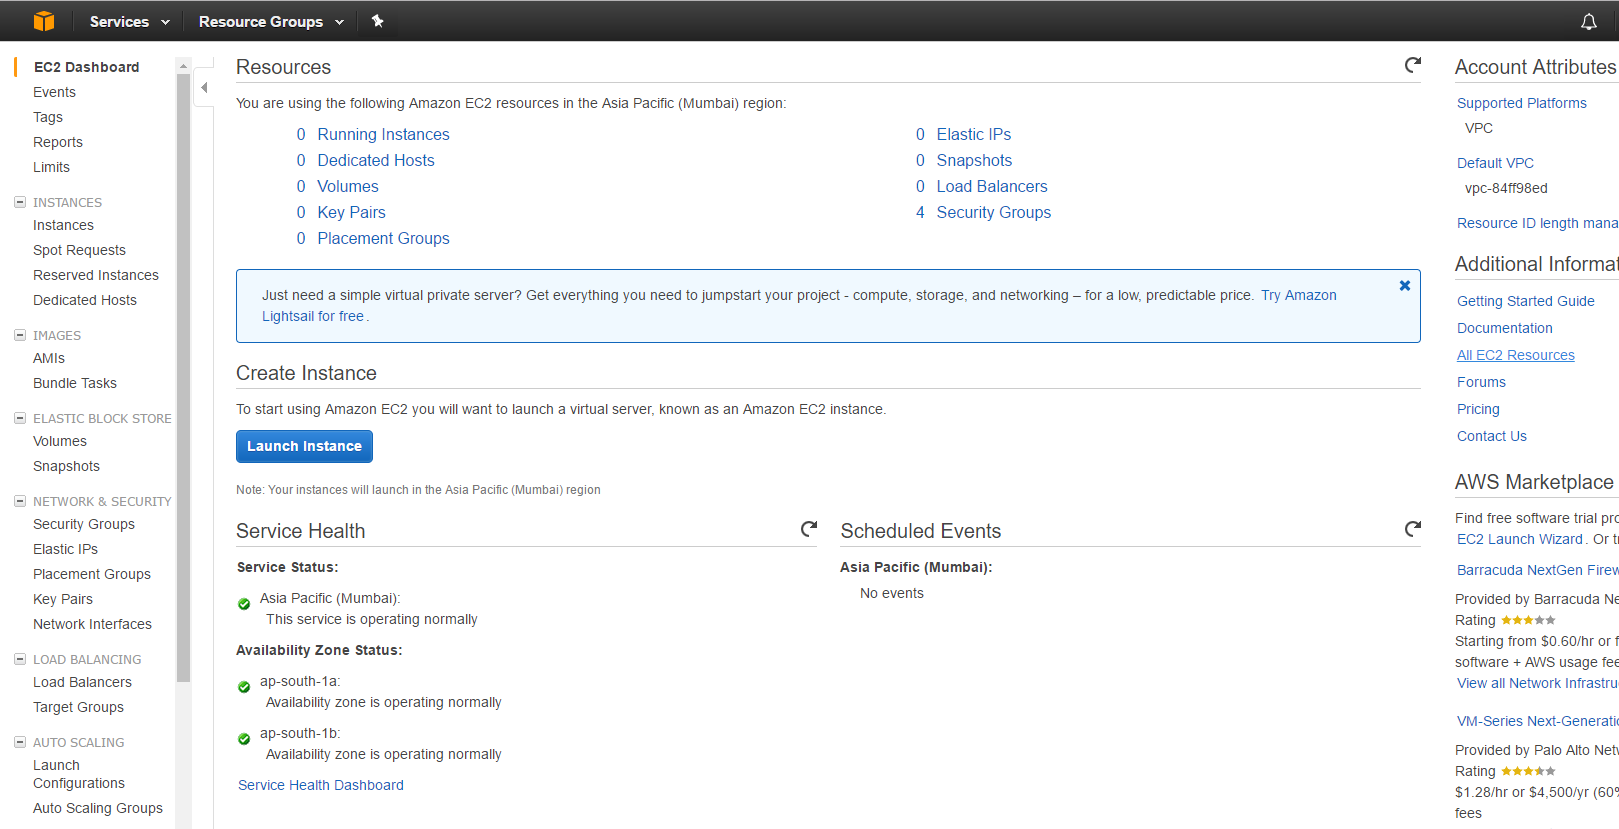
Click the blue “Launch Instance” button.
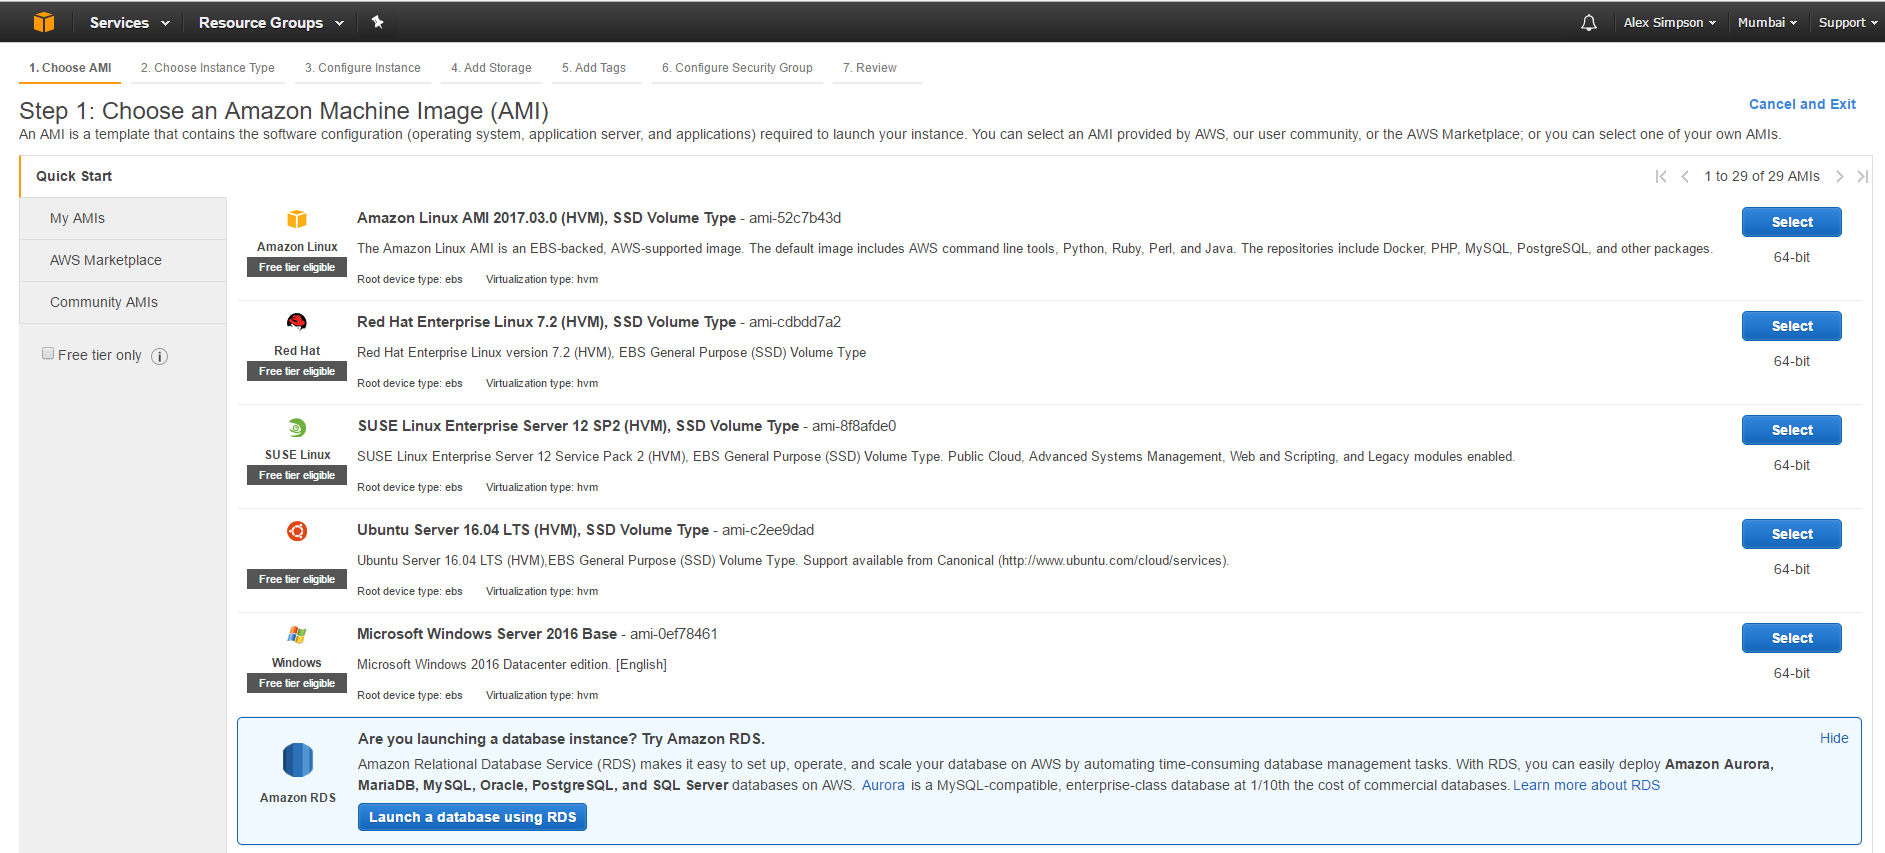
Select the “Amazon Linux AMI …” that can be seen at the top of the list in the image below.
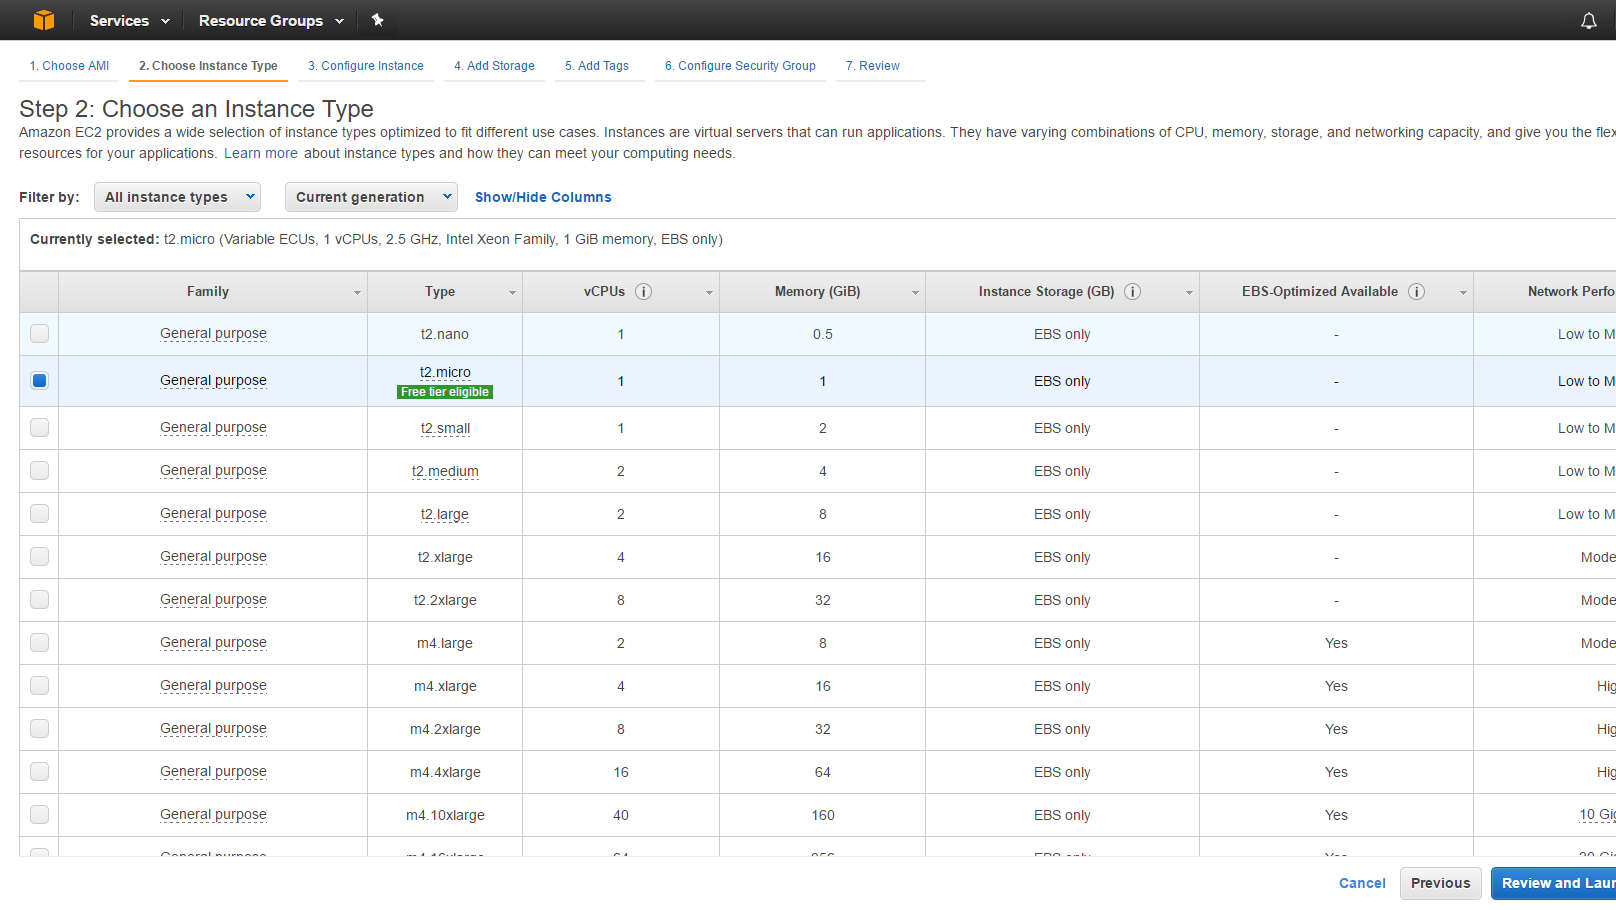
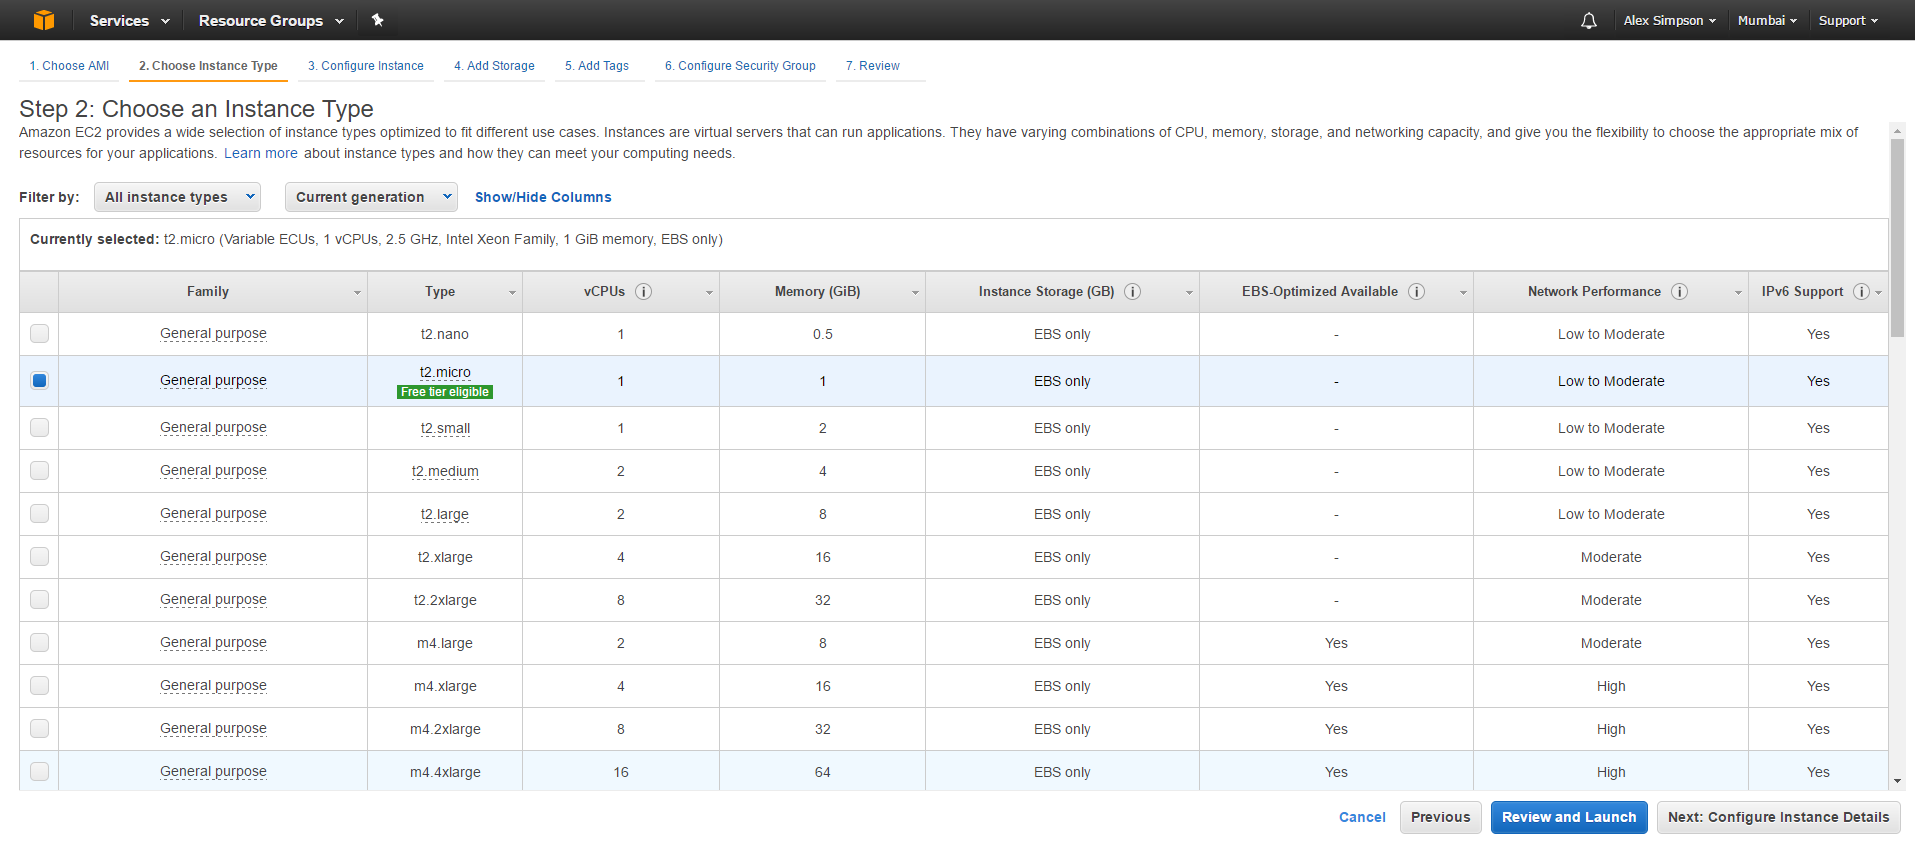
Make sure “t2.micro” (to stay within the free tier) is selected and click “Next: Configure Instance Details” (in the bottom right).
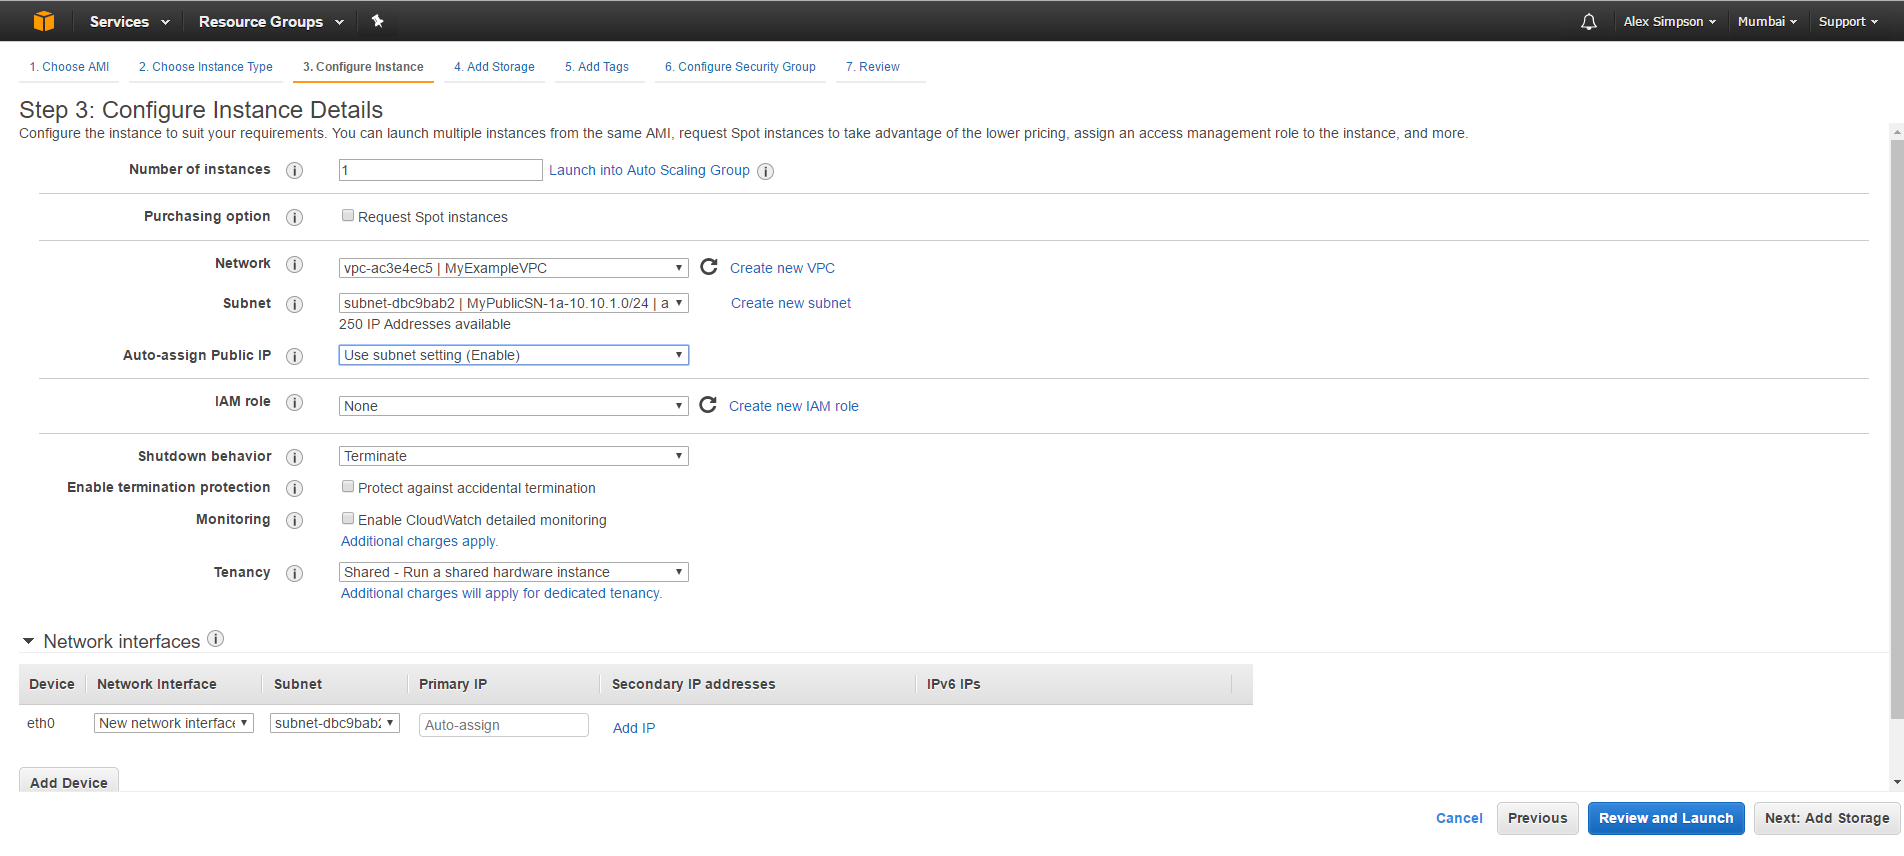
Make sure you select “MyExampleVPC” and “MyPrivateSN” from the dropdowns as in the image below. Then click “Next: Add Storage” (in the bottom right).
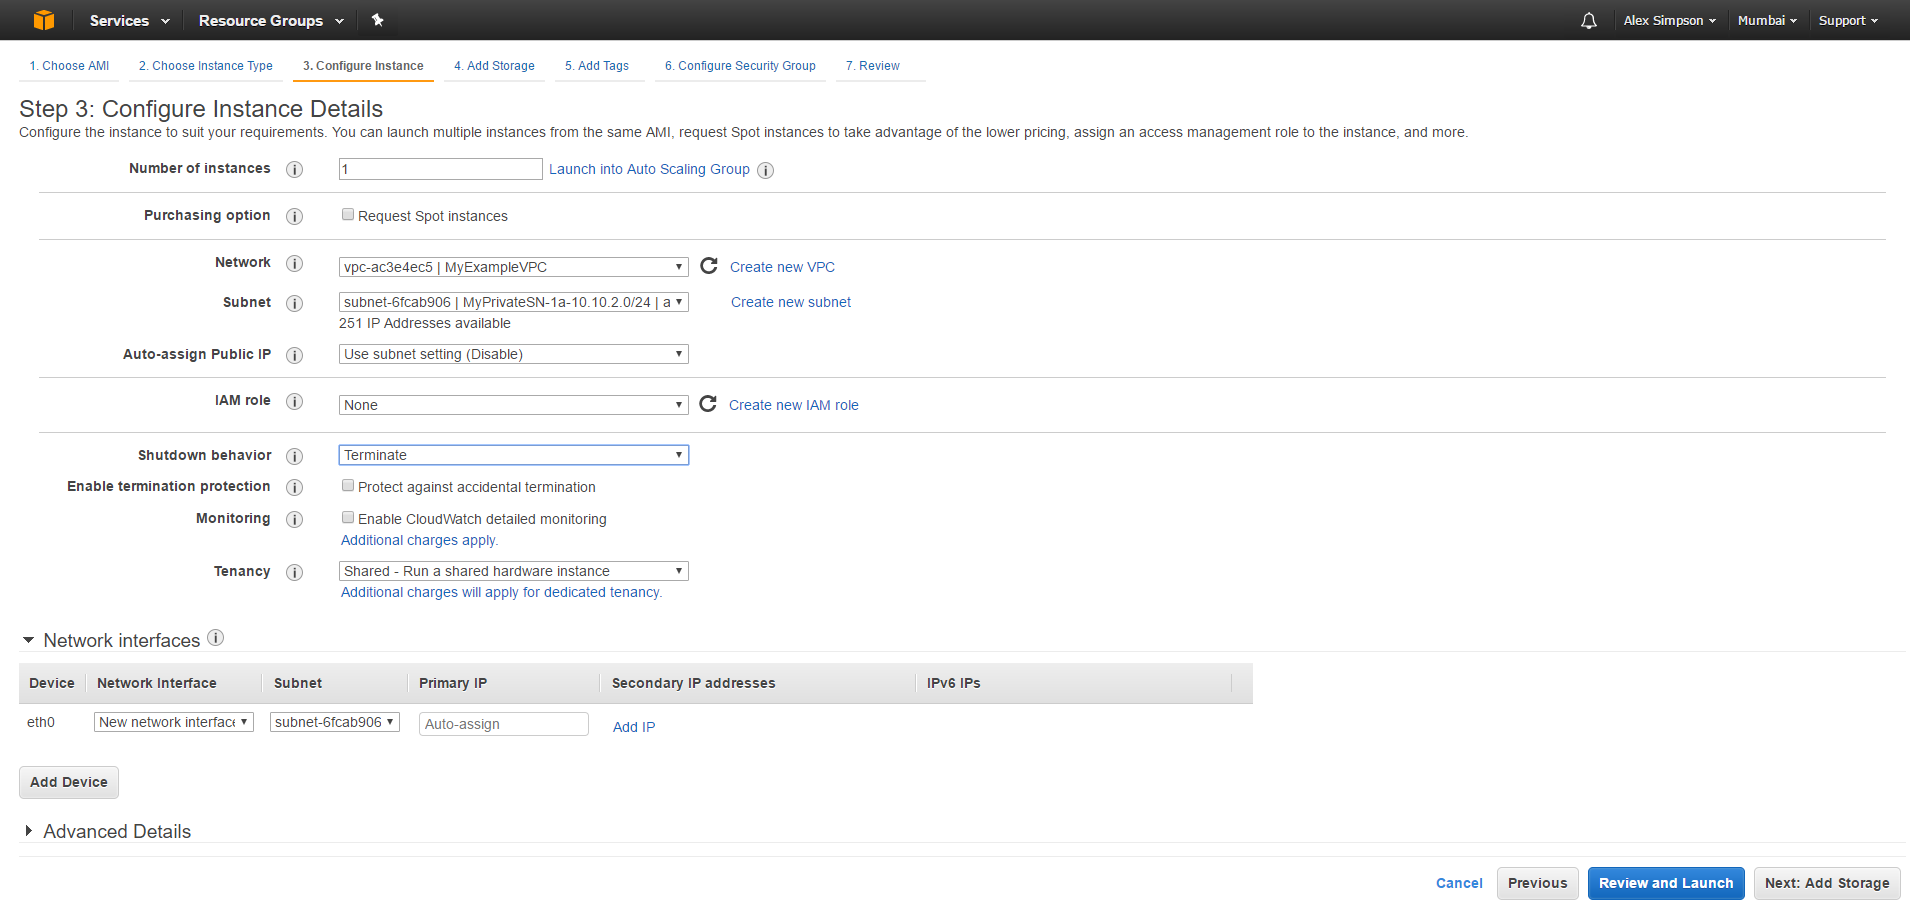
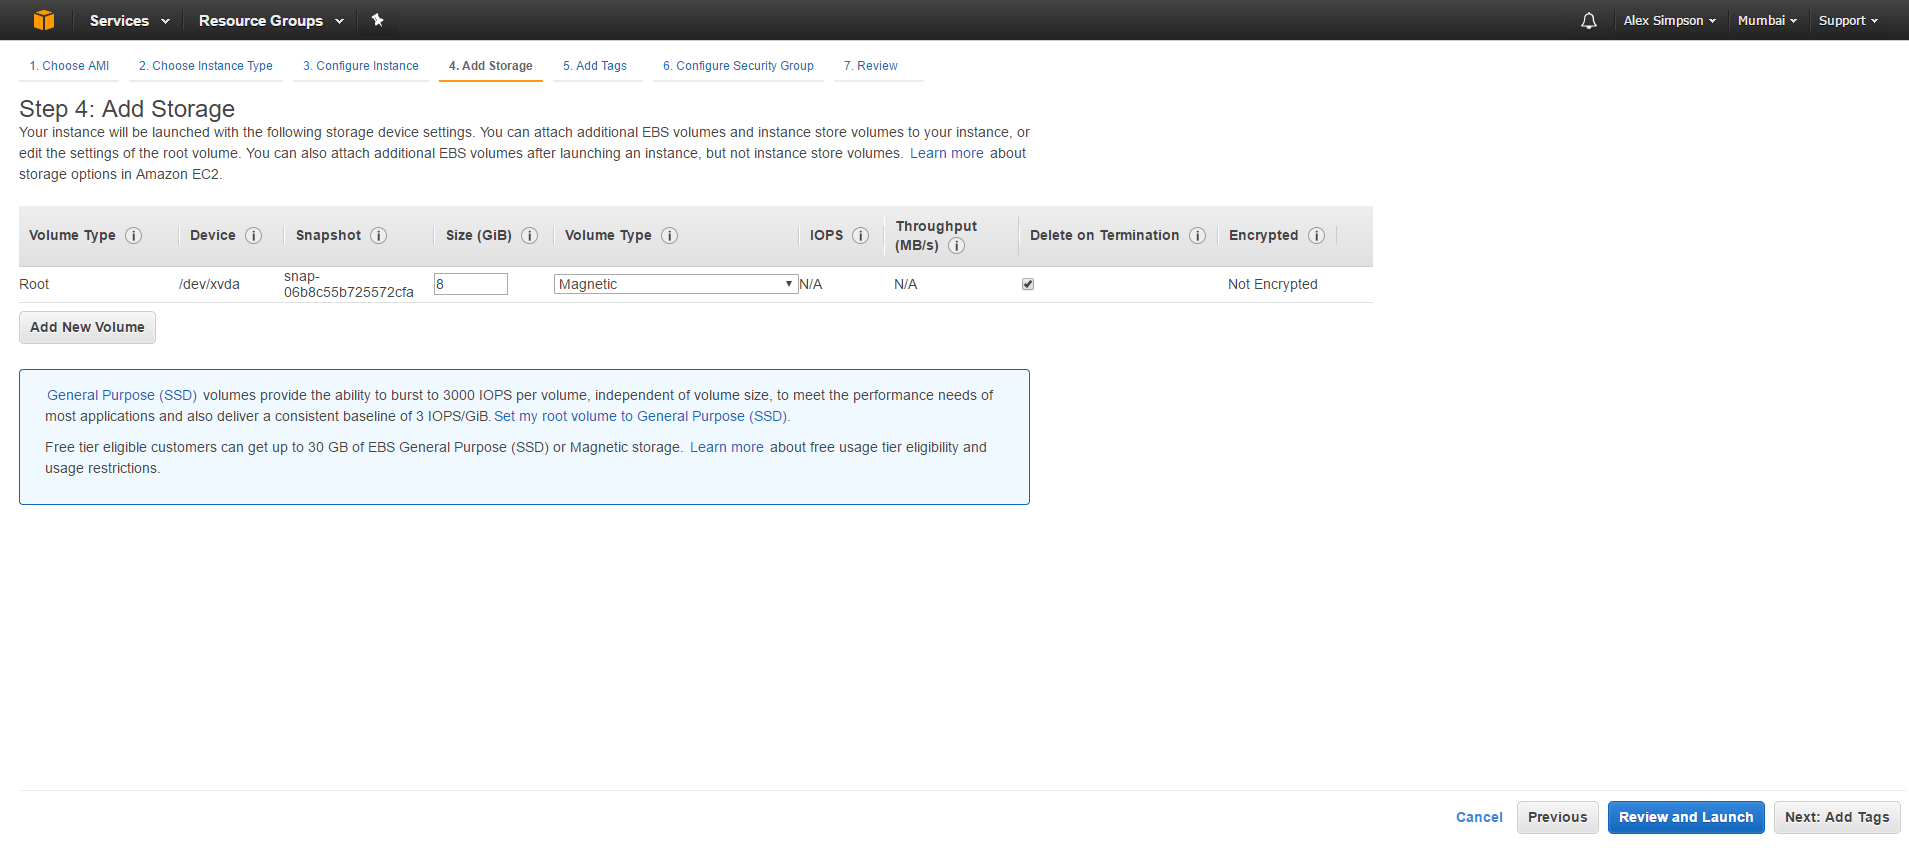
Leave all the settings as default and click “Next: Add Tags”

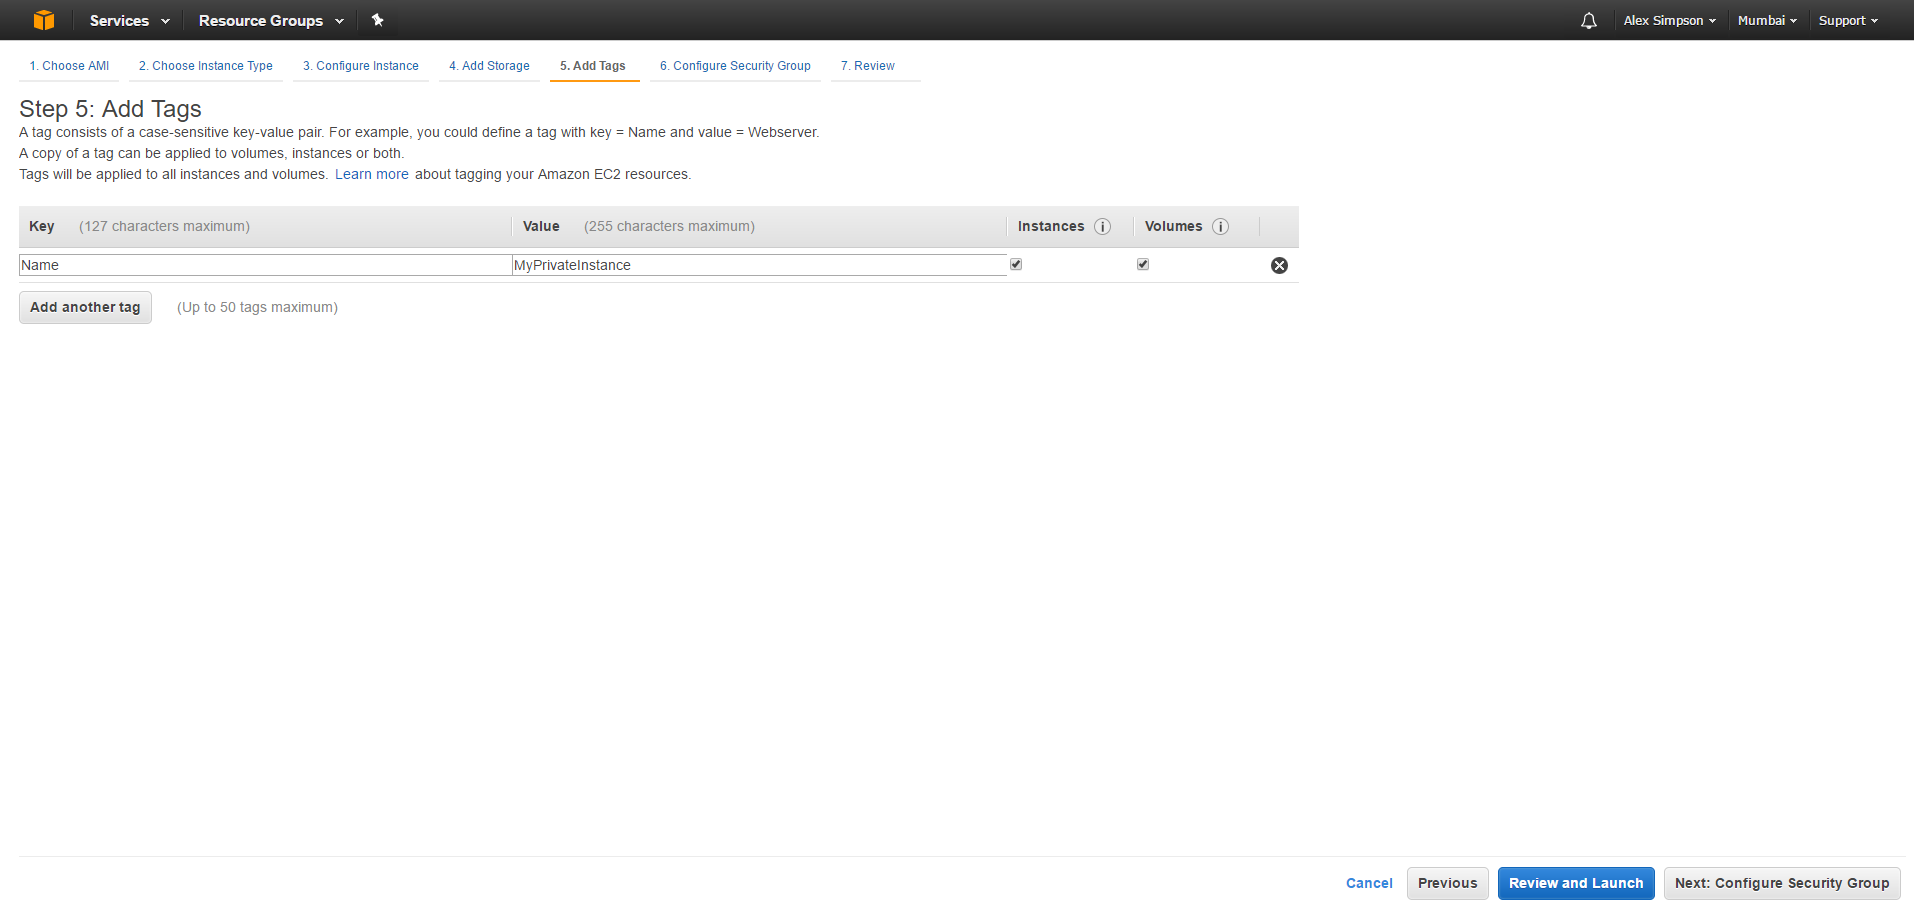
For the Key enter, “Name” and Value enter “MyPrivateInstance” then click “Next: Configure Security Group”
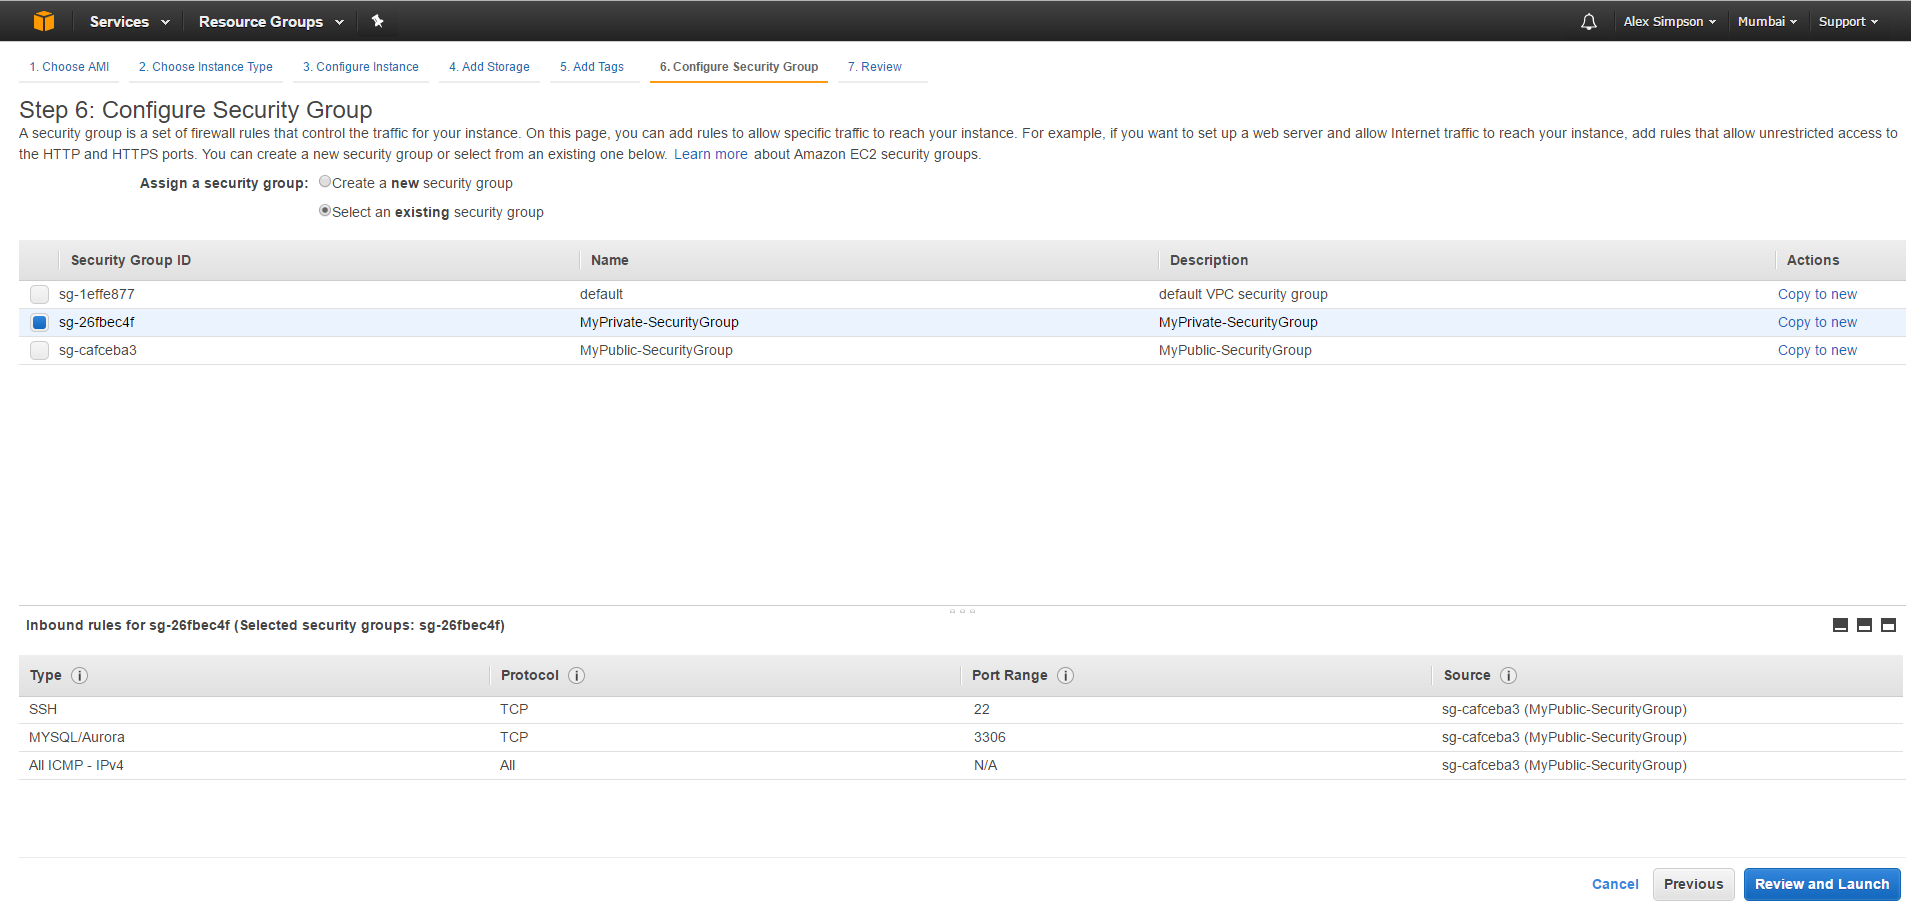
Click “Select an existing security group”, then make sure MyPrivate-SecurityGroup is selected and click “Review and Launch”.
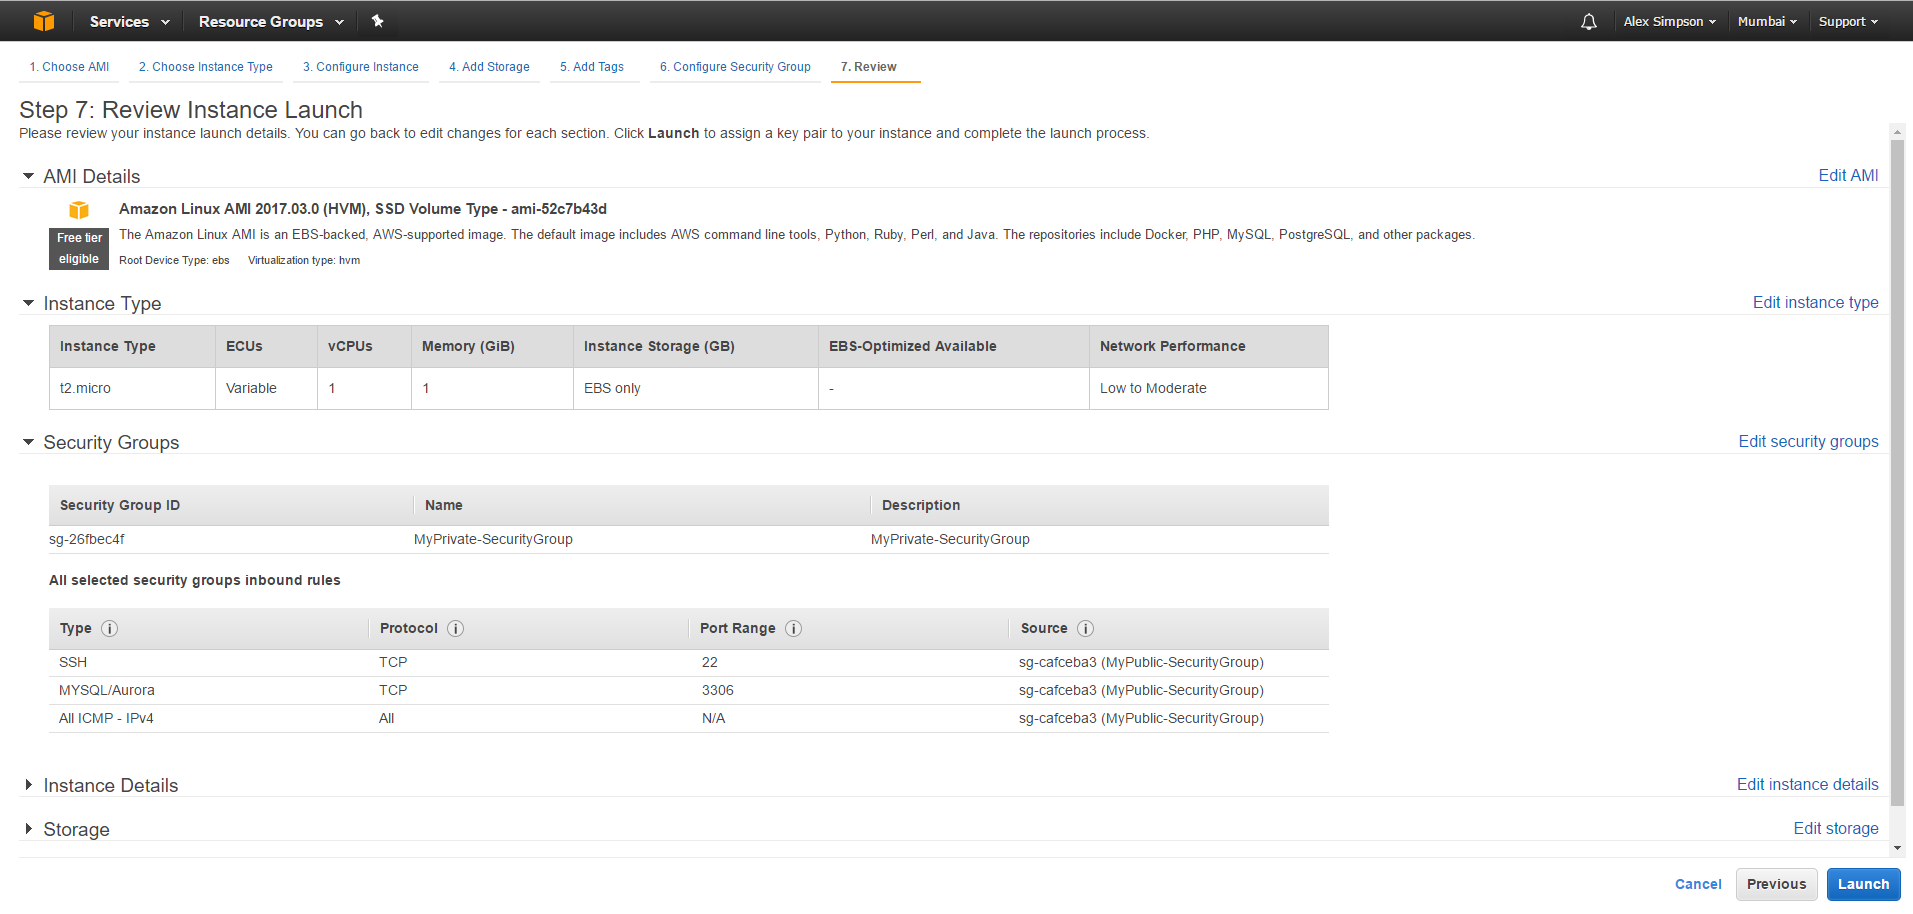
Use this chance to check your configuration and ensure the details are correct. Once you are sure, click the blue “Launch” button in the bottom right.
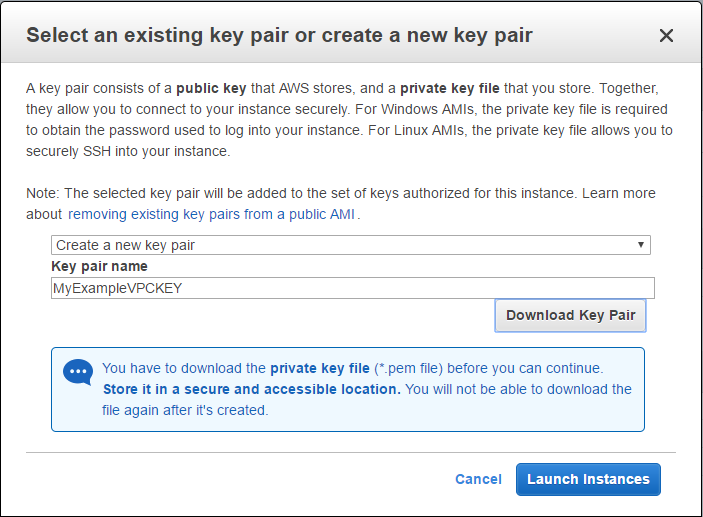
You will be prompted with the popup shown below, from the first drop-down select “Create a new key pair” and name it “MyExampleVPCKEY”. Click “Download key pair” and save it in a location that is easy to access (we will need this later)Once that is done click “Launch Instances”
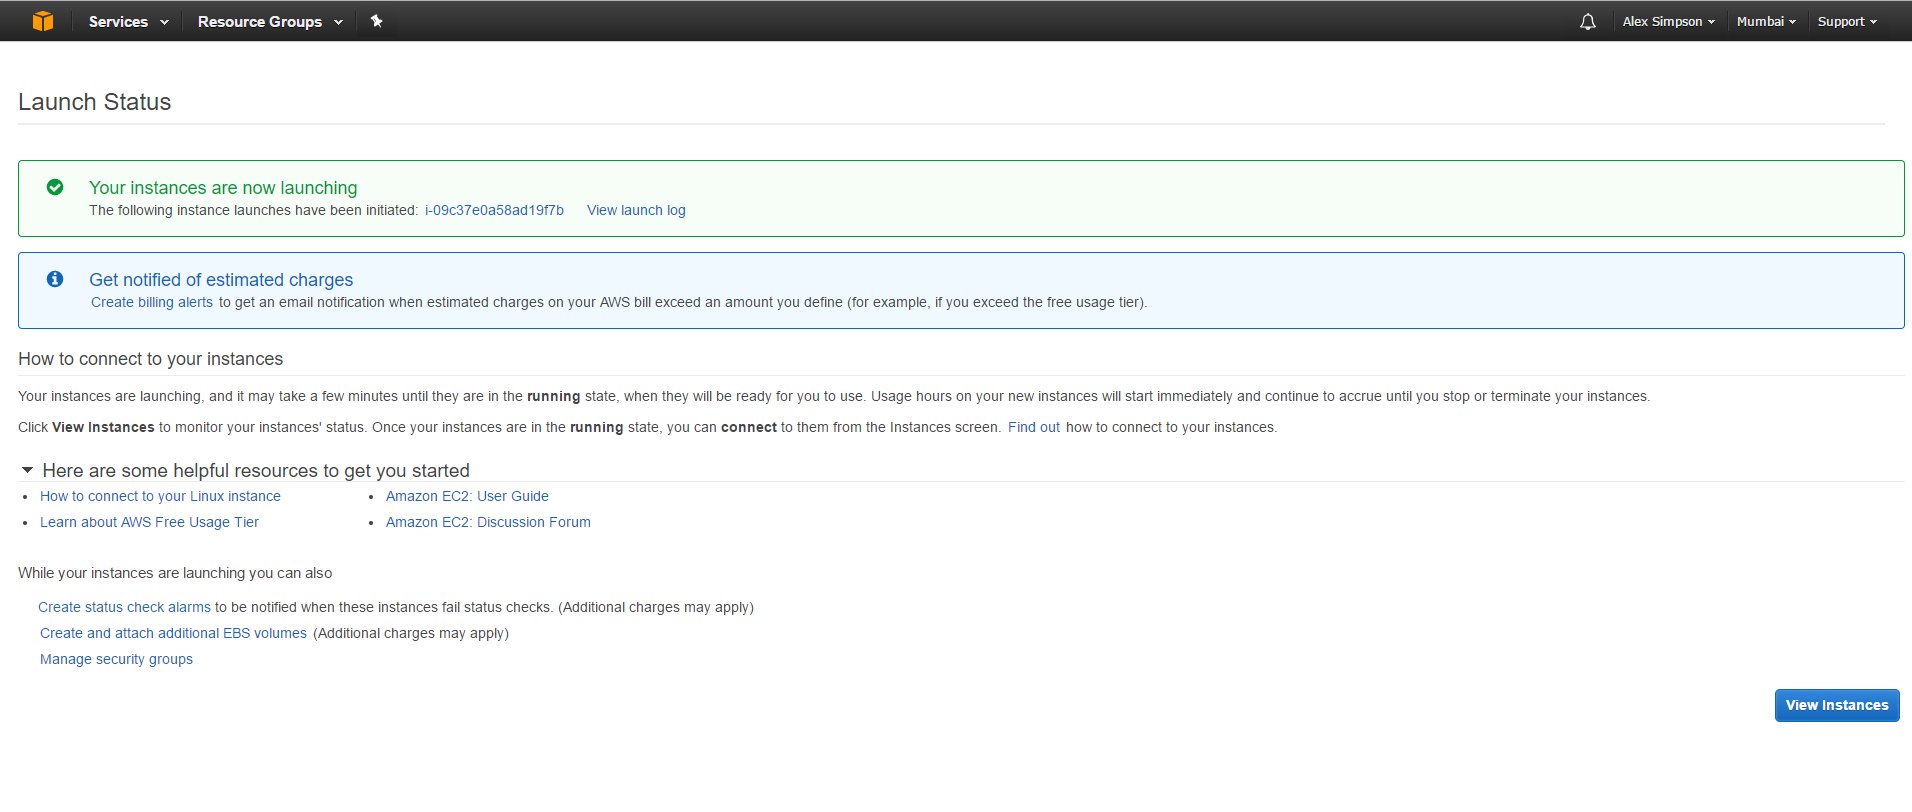
You should then be presented with a screen closely resembling the below image. Click the blue “View Instances” button in the bottom right. Then click “Launch Instance” again to start configuring the deployment of our second EC2 instance.
You should then see the below screen again, make sure to select “t2.micro” again, click “Next: Configure Instance Details” in the bottom right.
Make sure you select “MyExampleVPC” and “MyPublicSN” from the dropdown’s like in the image below. Then click “Next: Add Storage” (in the bottom right).

Leave all the settings as default and click “Next: Add Tags”
For the Key enter, “Name” and Value enter “MyPublicInstance” then click “Next: Configure Security Group”

Click “Select an existing security group”, then make sure MyPublic-SecurityGroup is selected and click “Review and Launch”.

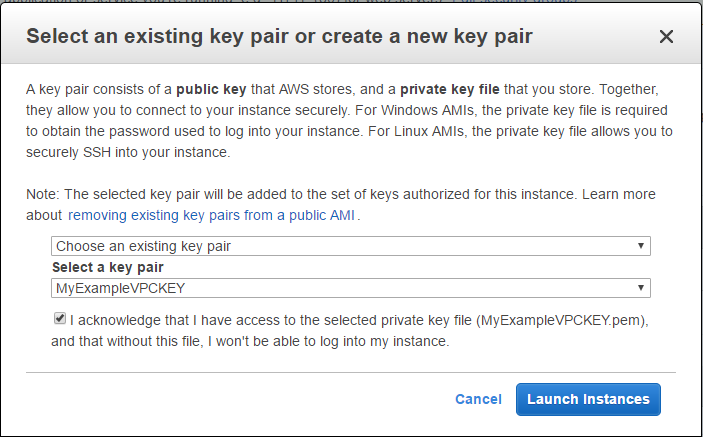
This time we will be using the same Key as last time, so make sure you select “Choose an existing key pair” and select “MyExampleVPCKEY” that we made before, Click “Launch Instances”.
You should now see this screen again, click the blue “View Instances” button in the bottom right.
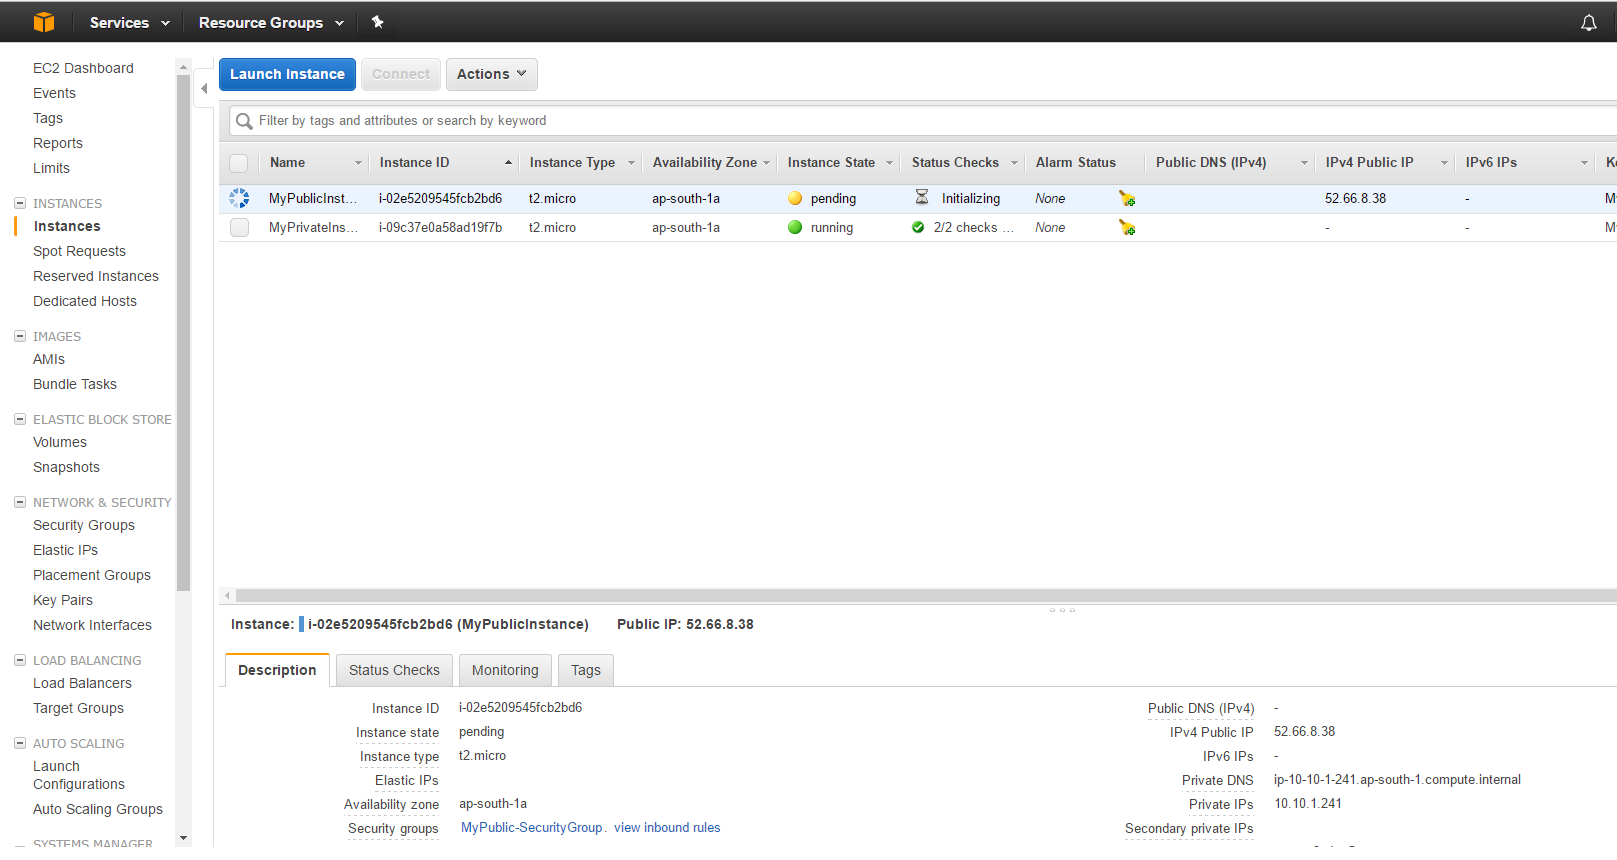
You should now be back in the below screen and you should be able to see your two instances. Click “Launch Instance” one last time to start configuring our NAT instance.
This time instead of using the “Quick Start” menu, use the left nav bar to select “Community AMI’s” and search for “ami-vpc-nat” as shown below. Once found click the blue “Select” button next to the most recent AMI available (the date can be found in the name).

Make sure “t2.micro” (to stay within the free tier) is selected and click “Next: Configure Instance Details” (in the bottom right).
Make sure you select “MyExampleVPC” and “MyPublicSN” from the dropdown’s like in the image below. Then click “Next: Add Storage” (in the bottom right).
Leave all the settings as default and click “Next: Add Tags”
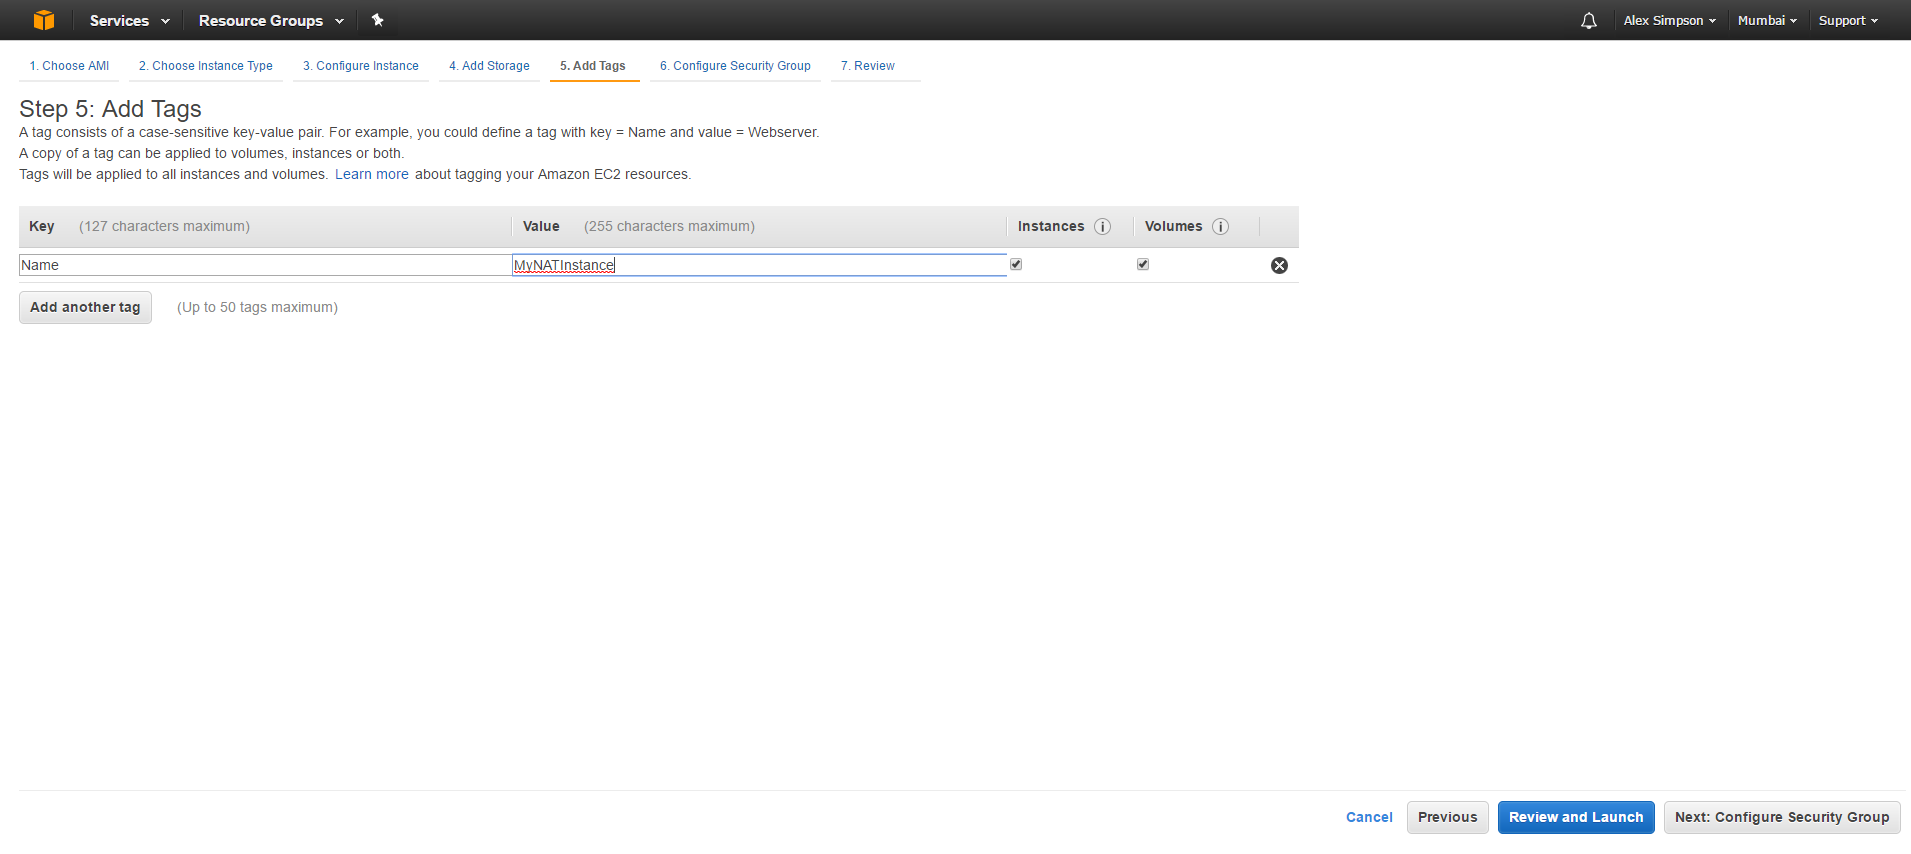
For the Key enter, “Name” and Value enter “MyNATInstance” then click “Next: Configure Security Group”
Click “Select an existing security group”, then make sure MyPublic-SecurityGroup is selected and click “Review and Launch”.

You will get the popup below, just keep the defaults and click “Next”
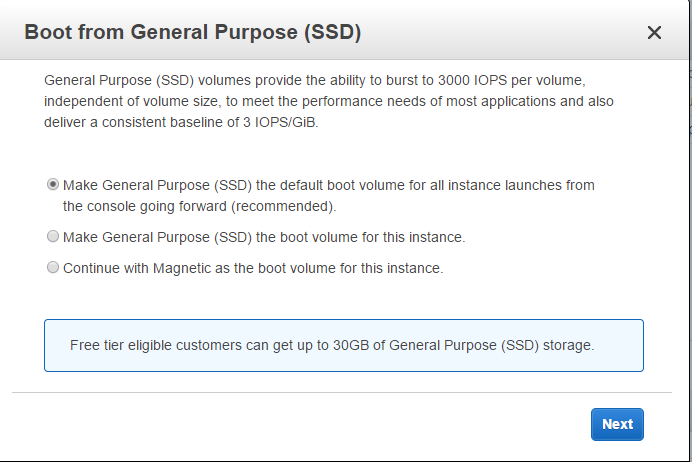
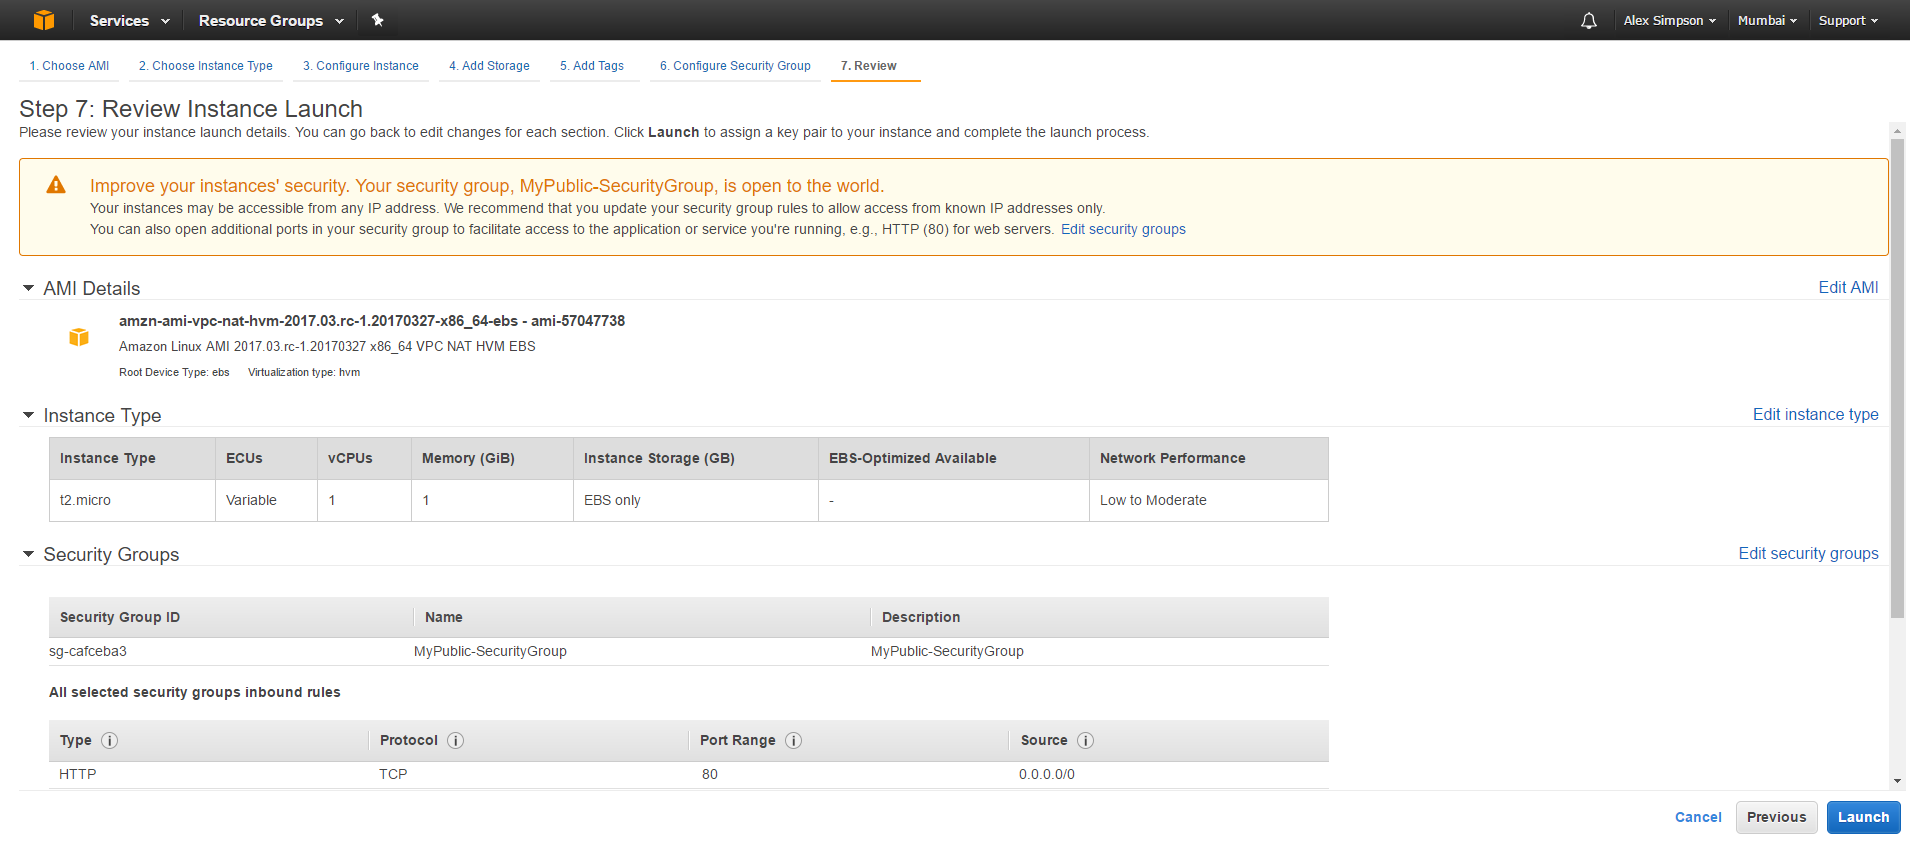
Review the information below, and once you deem it is correct click “Launch”
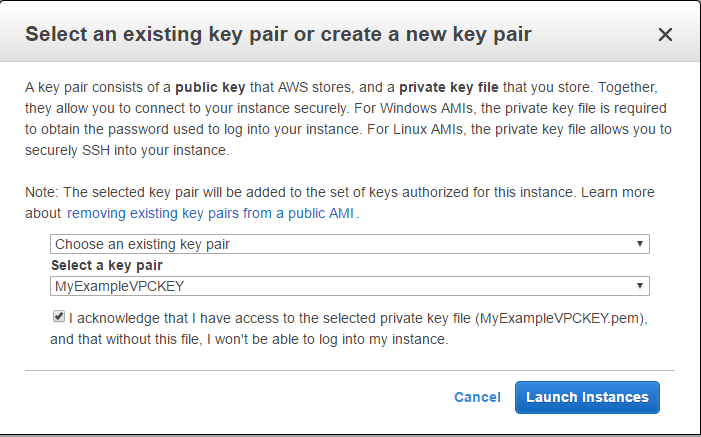
We will be using the same Key as last time again, so make sure you select “Choose an existing key pair” and select “MyExampleVPCKEY” that we made before, Click “Launch Instances”.
You should now see this screen again, click the blue “View Instances” button int he bottom right.
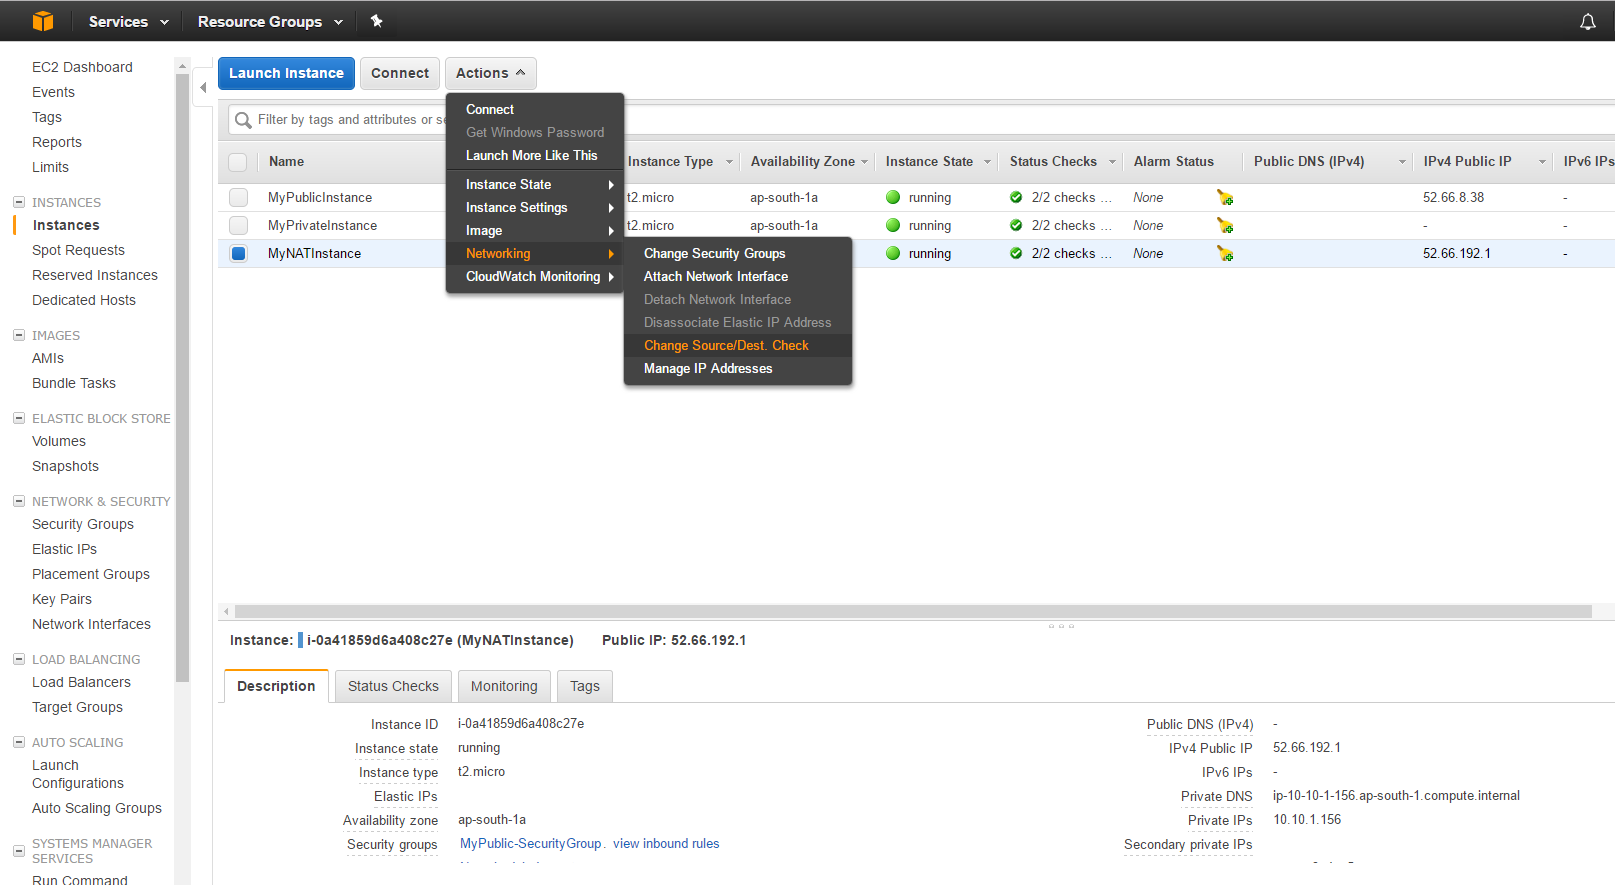
You should now see all three instances in the EC@ console, some may take a few minutes to provision.
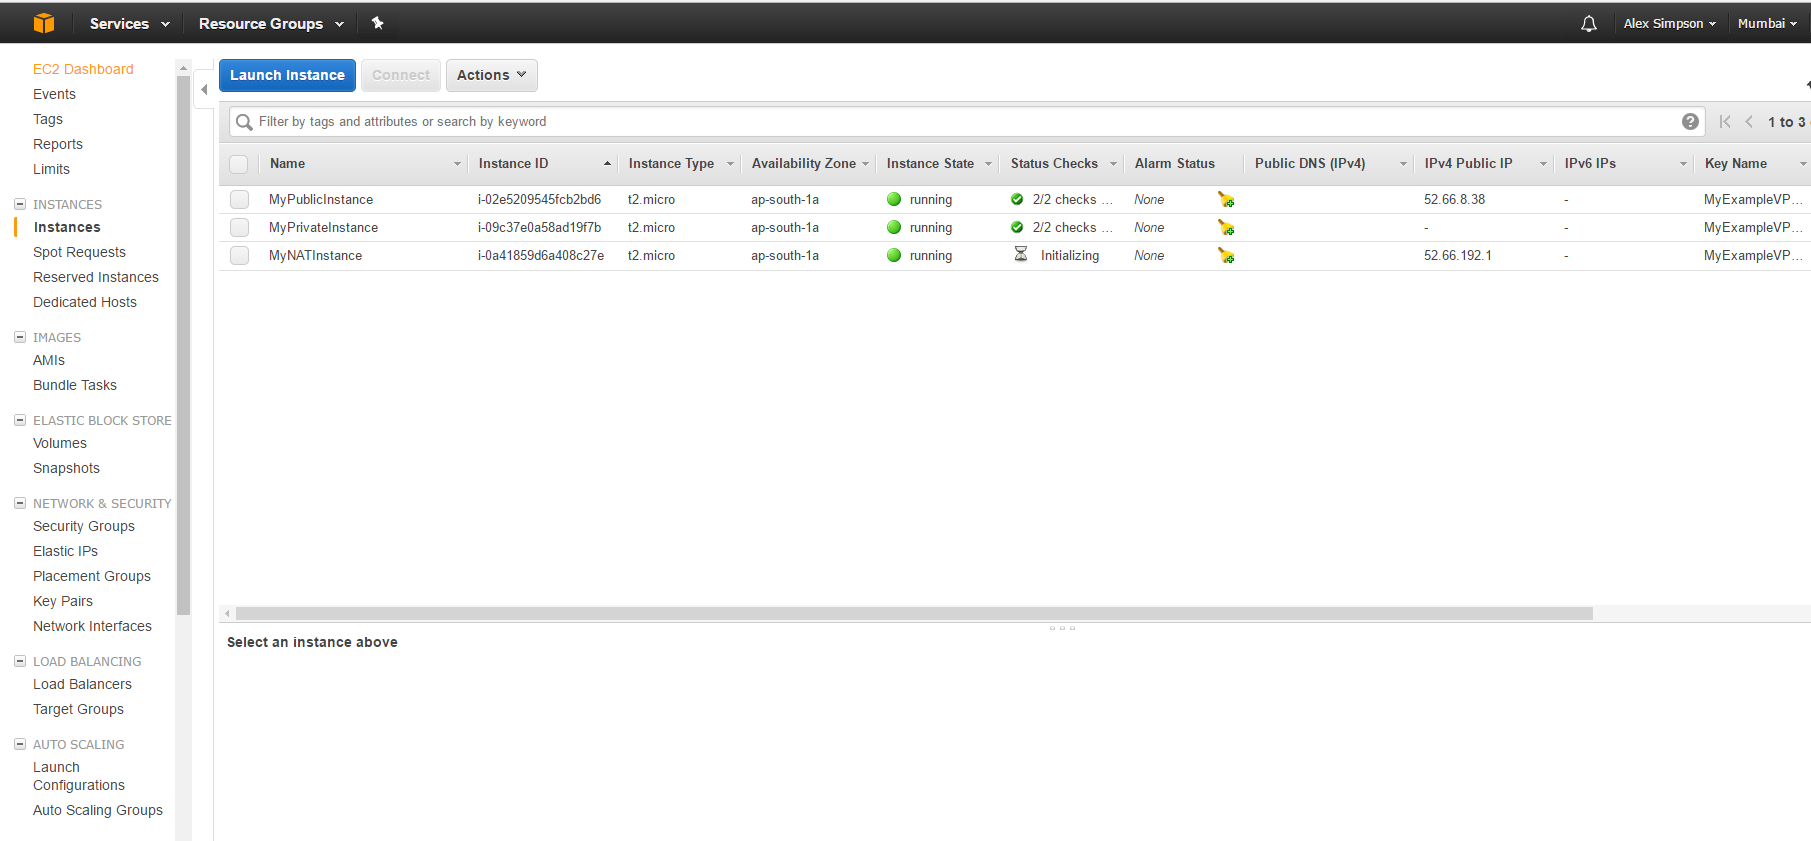
Make sure “MyNATInstance” is selected, then click actions, networking and “Change Source/Dest Check”.
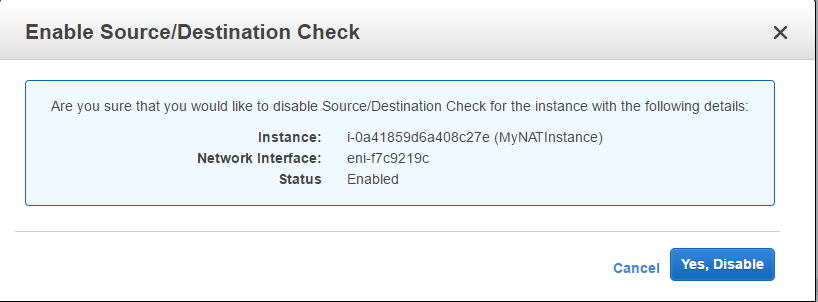
When you are presented with the popup below click the blue “Yes, Disable” button.
That’s all for today, but join me in Part 3 for testing of the configuration.